Publishing Your Hugo Site on Netlify
You have a Hugo site created and also have a GitHub repository for the site. Now, you can deploy the site for free via Netlify.
First, if you do not already have a Netlify account, create one. Then, login to Netlify.
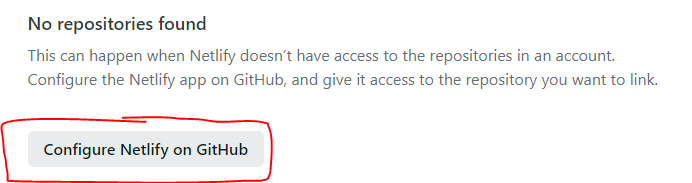
If you search for your repo and do not find it, select the Configure Netlify on GitHub button.
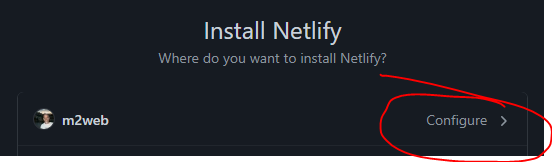
Then select where, which GitHub account, you want to install Netlify:
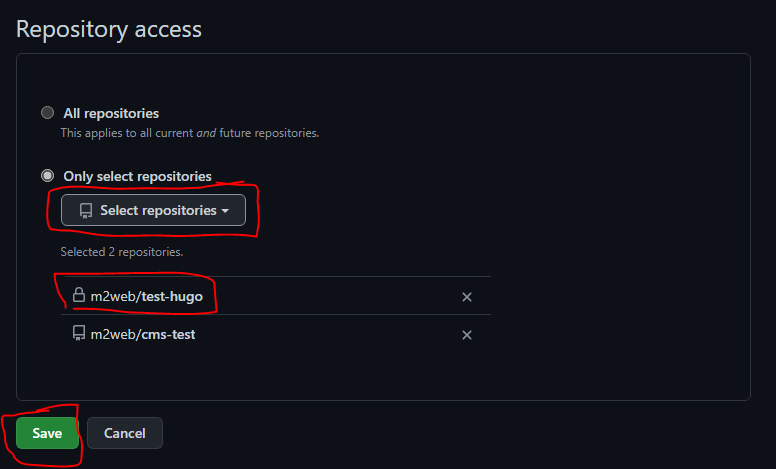
In the Repository access section select the Only select repositories
radio button and then the Select repositories drop down button. After
selecting the desired repository, select the Save button.
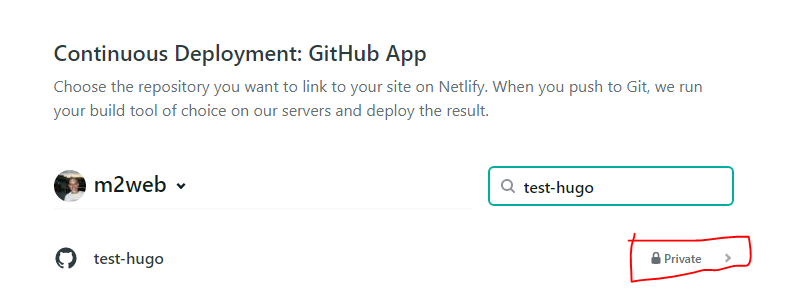
Now you have your repo, select either its Private or Public visibility
from GitHub. In my case, this repository is Private:
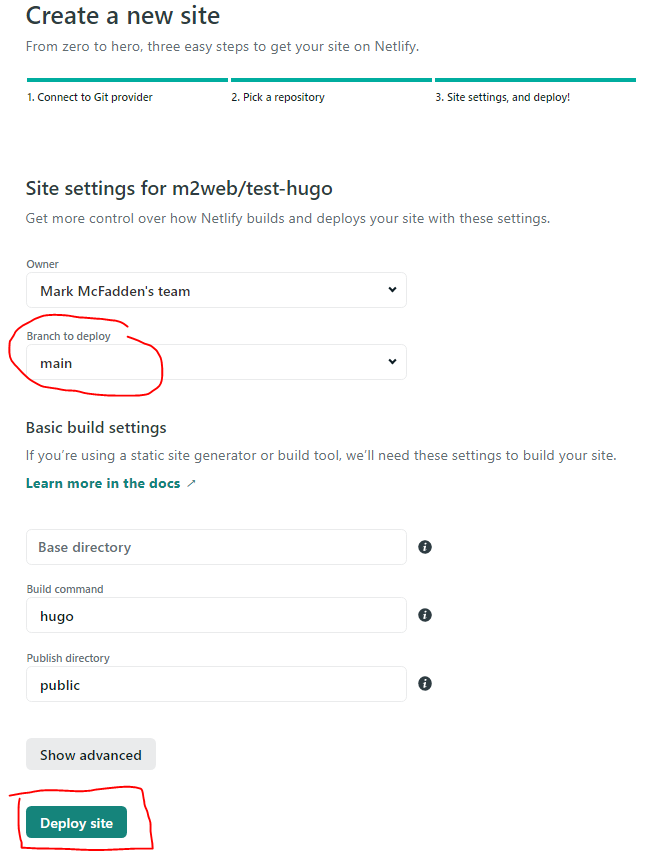
Finally, make sure that you have the desired Branch to deploy selected
and then deploy the site to Netlify by selecting the Deploy site button.
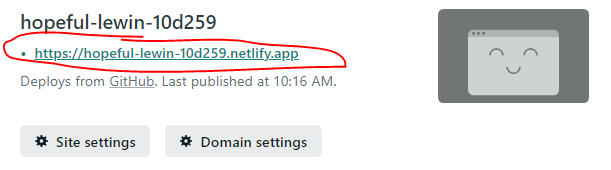
Once Netlify has completed the deployment of your site, select the link and view it.
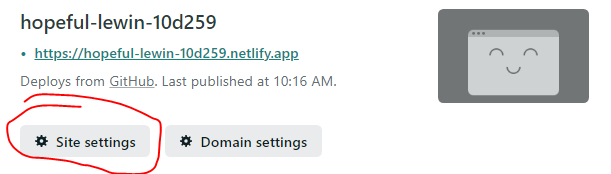
You can rename the subdomain of your site by selecting the Site settings
button
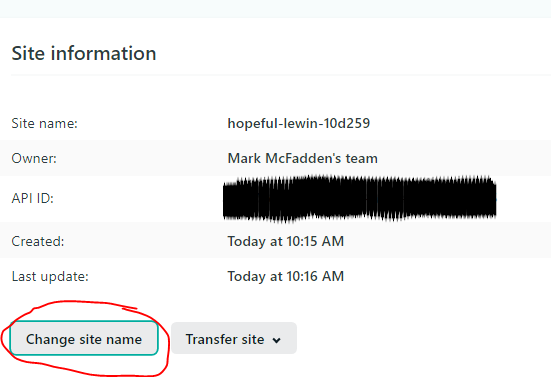
Then, in the Site information section, select the Change site name
button.
Now, you have a published site on Netlify that will update with each push to you main branch in your GitHub repository.